


First, I started by assembling the model. Since it is an old mold and a less detailed kit, I did not have any problems while assembling. I did not need to use putty when assembling the kit. This phase is over very quickly.

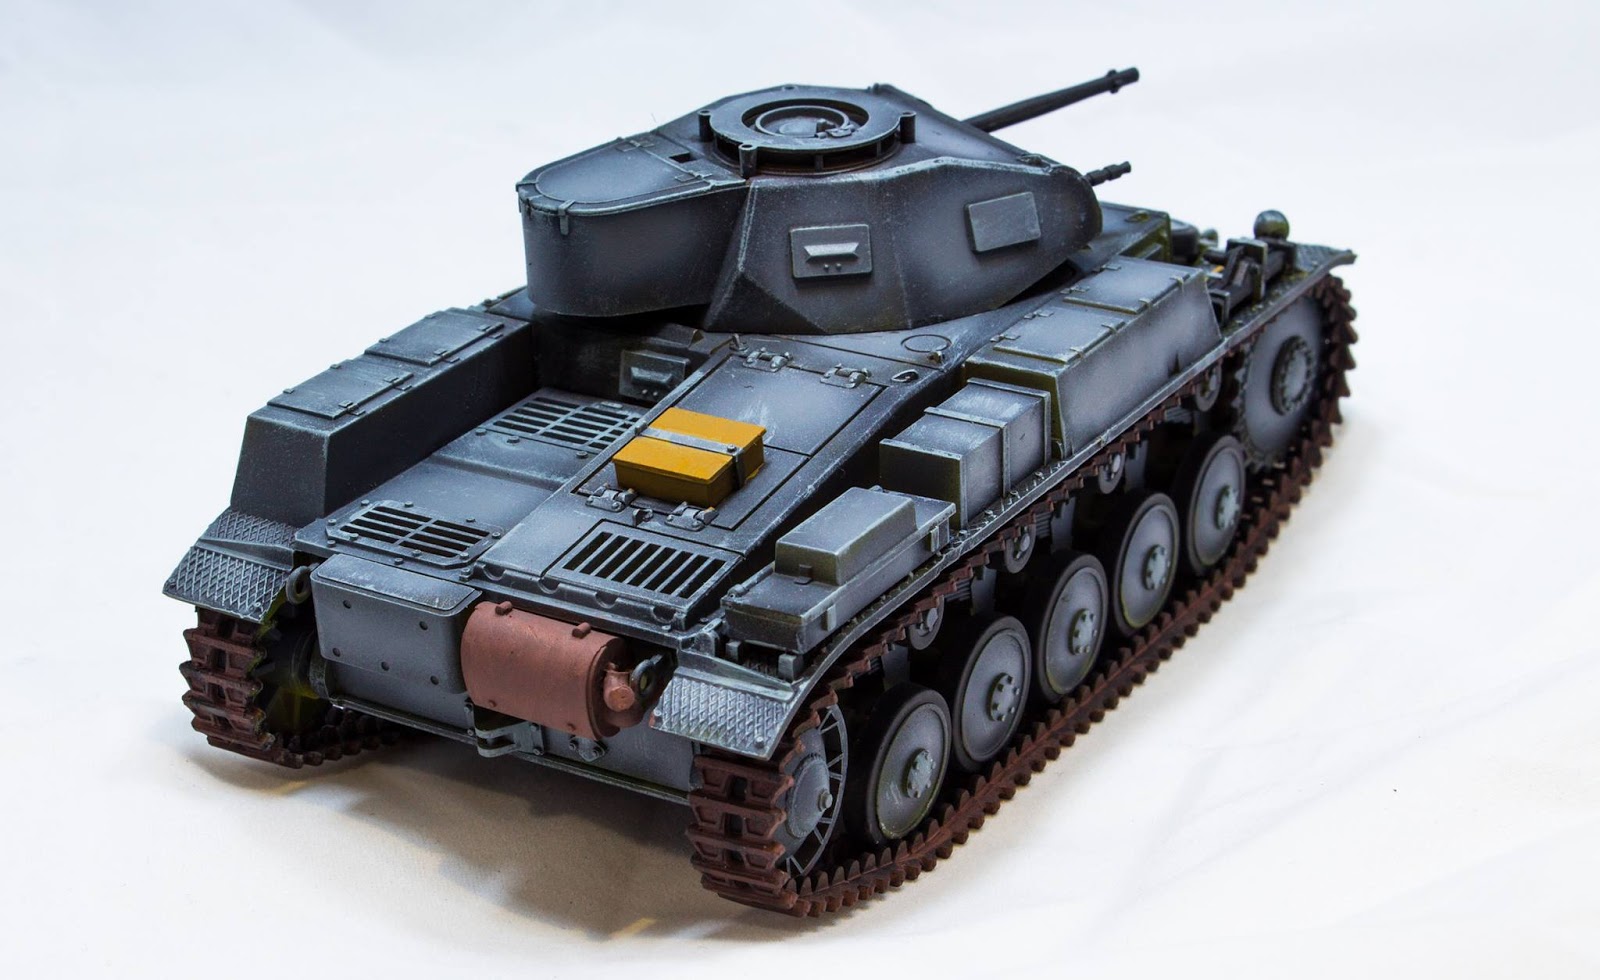
I've been priming the tanks with a light color lately. I used gray primer in this tank as well. Actually, my first goal was to make a classic three-color German camouflage. But since I couldn't find a picture of these tanks being painted in that camouflage, I switched to panzer gray.

First of all, I painted the parts of the tank that were not exposed in black. Then I painted the superficial parts with panzer gray. It is necessary to use such techniques in order to break the monotony in single color models.

After this stage, I dry brushed the protruding parts of the tank with a gray color that I lightened a lot. I'm used to using this technique now. While it was very obvious in the models I made before, a natural look emerged in this model.

After the main painting of the model was finished, I started to paint the details. First of all, I painted the exhaust of the tank and the tracks in rust color.

I painted the box on the tank in wood color to create contrast. I actually painted the box in two different shades of brown. But because one of the dyes was dominant, it looked like a single color.
I painted the gun barrels on the front of the tank in anthracite. I dry brushed in metallic color over anthracite. After dry brushing, a very realistic appearance occurred.

I painted the jack on the body of the tank in anthracite color and dry brushed it in metallic color. I painted the metal parts of the tools on the body in anthracite and the wooden parts in brown. I also painted the rubber parts of the wheels in tar black and finished the painting phase completely.

As in the previous tank I made, I decided to add a lot of items to the Panzer 2 model. I collected the materials that need to be assembled on the figures that came out of the kit. I also made additions to these tools from the materials I had at my disposal.

I wanted to open the lid of the tool box in the back left. Thus, I would have a chance to place materials in it. I thought it would be a thin plastic in that part. But as I started to dig holes, I realized that I was wrong.

After pretty hard effort, I opened the hole completely. I cut a plastic sheet inside and glued it right over the pallets to make the base.

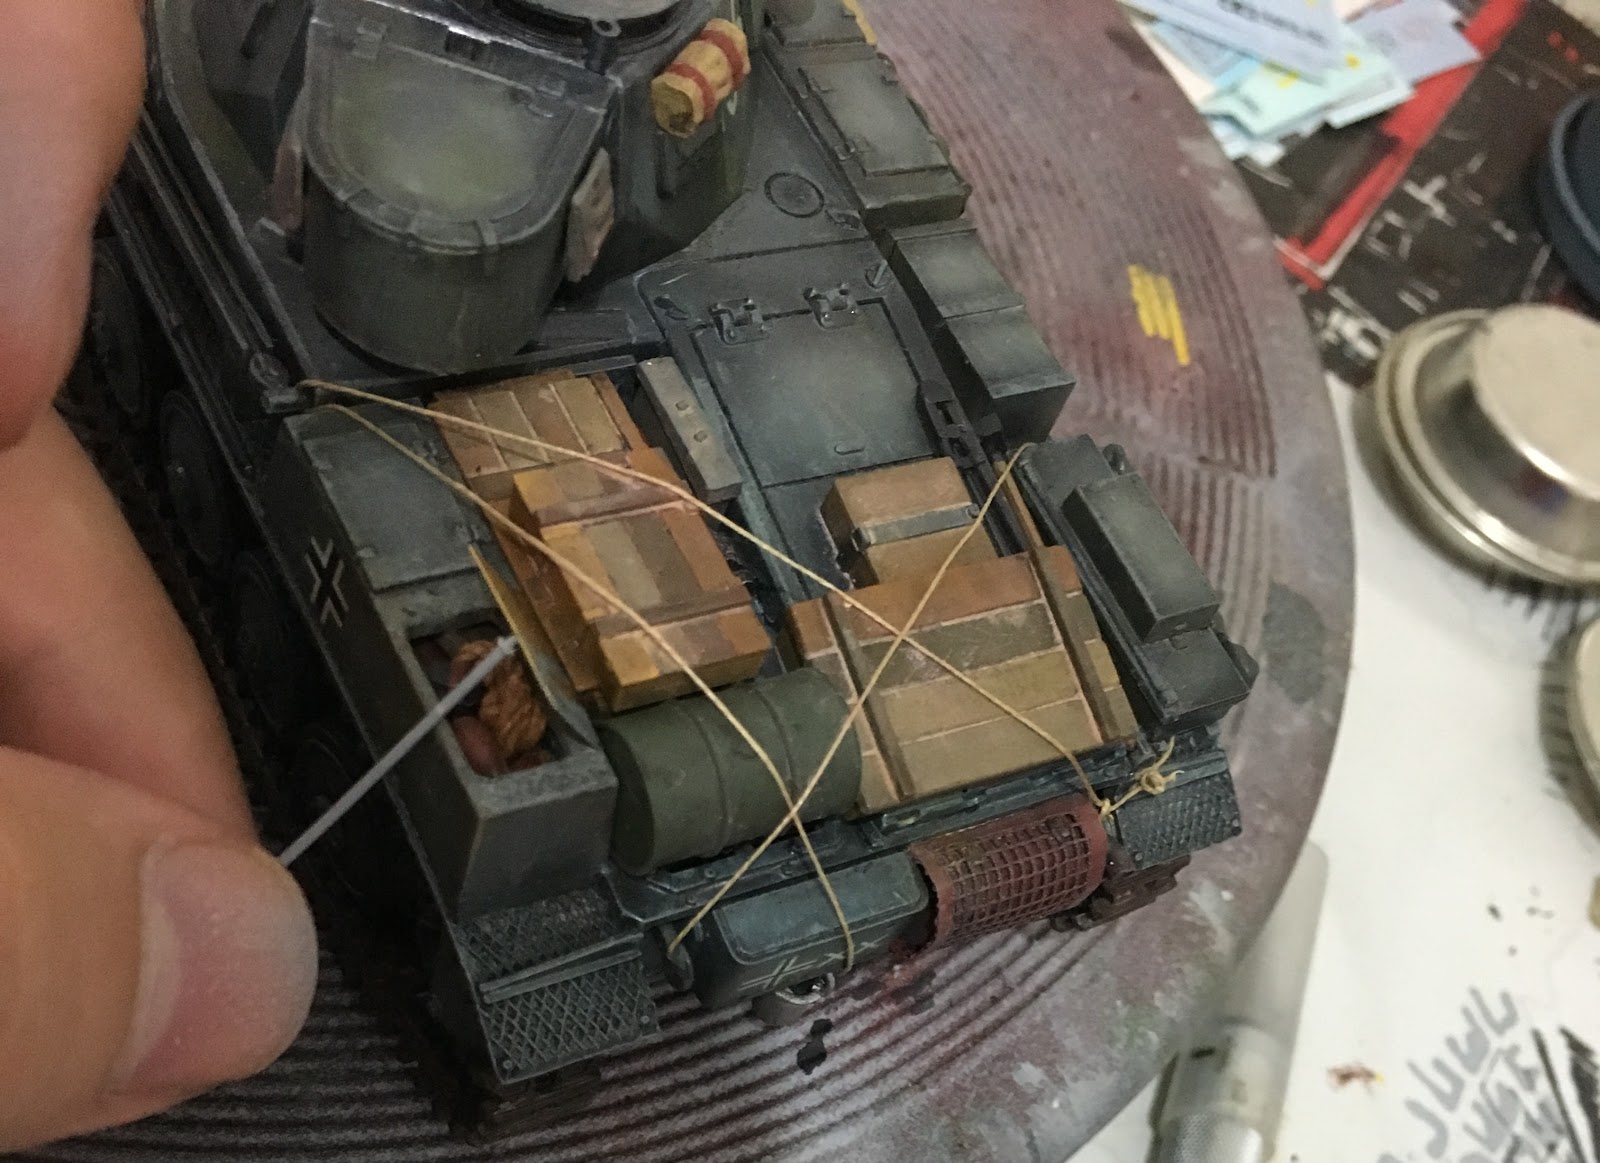
I added wooden boxes, fuel cans and blankets on the body of the tank. There is a protection plate around the exhaust of these tanks. I created it by cutting the nets I have. I added a bucket to the back.

I added 2 helmets to the front of the turret. In addition, I added 2 canisters on the turret. I tried to make these additions in accordance with the reference pictures I have.

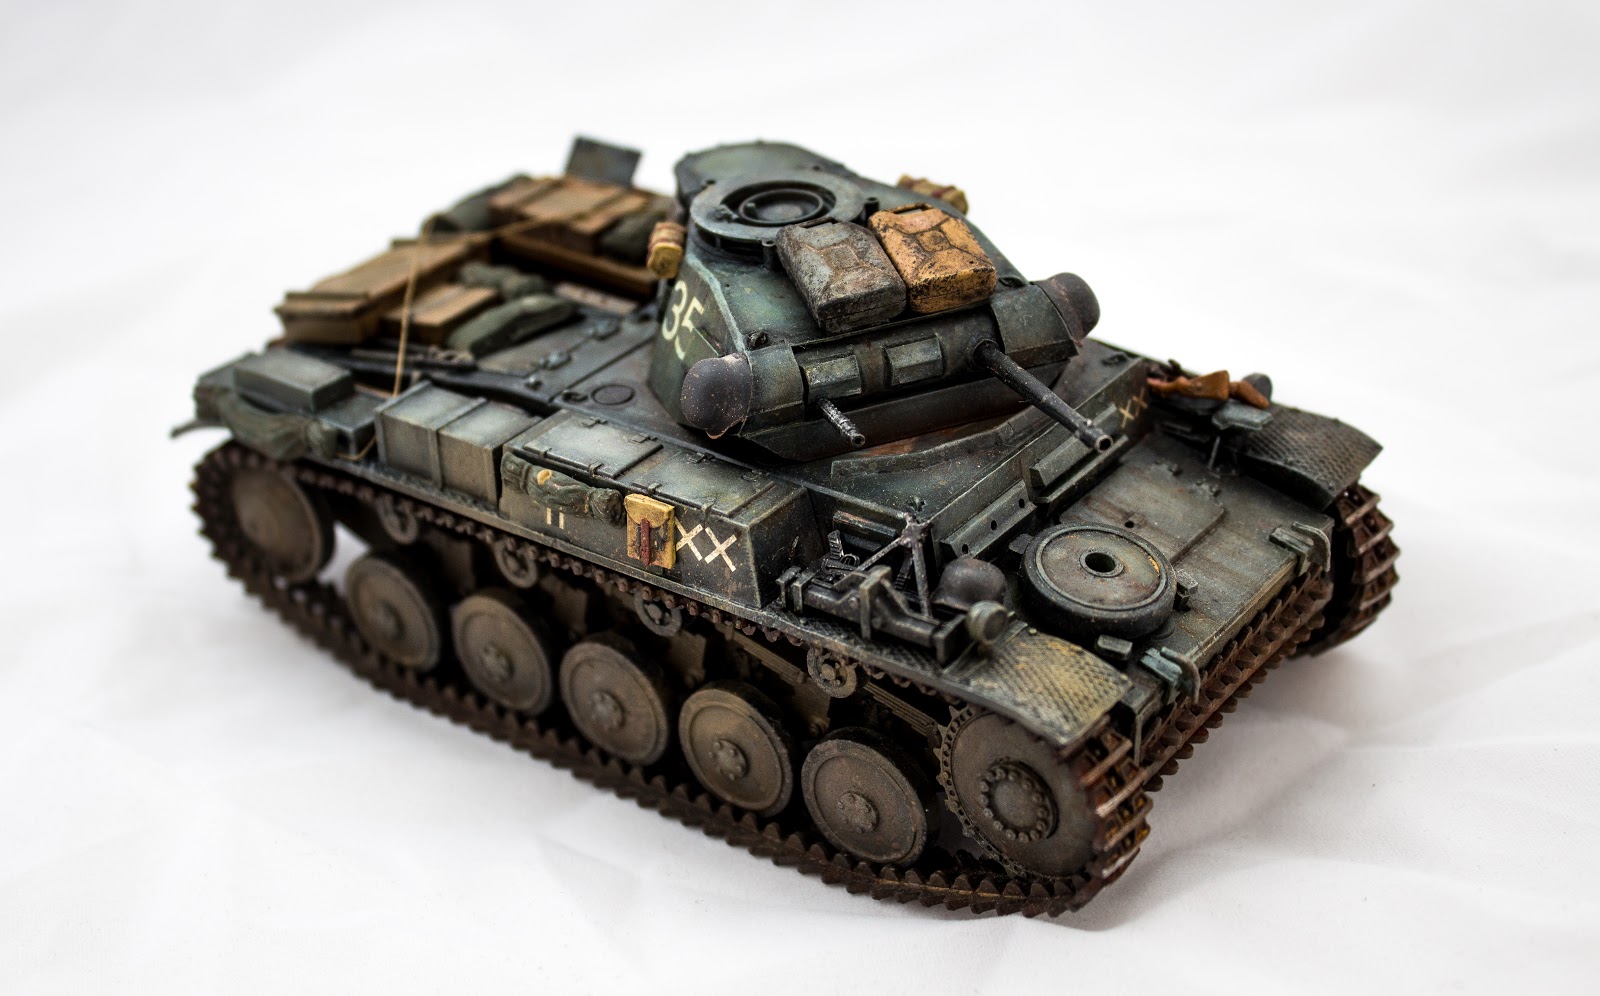
I glued a few blankets to the right side of the tank. I also added backpacks to this area. Again, I added blankets to the turret sides. I painted some of these items in desert camo for contrast.
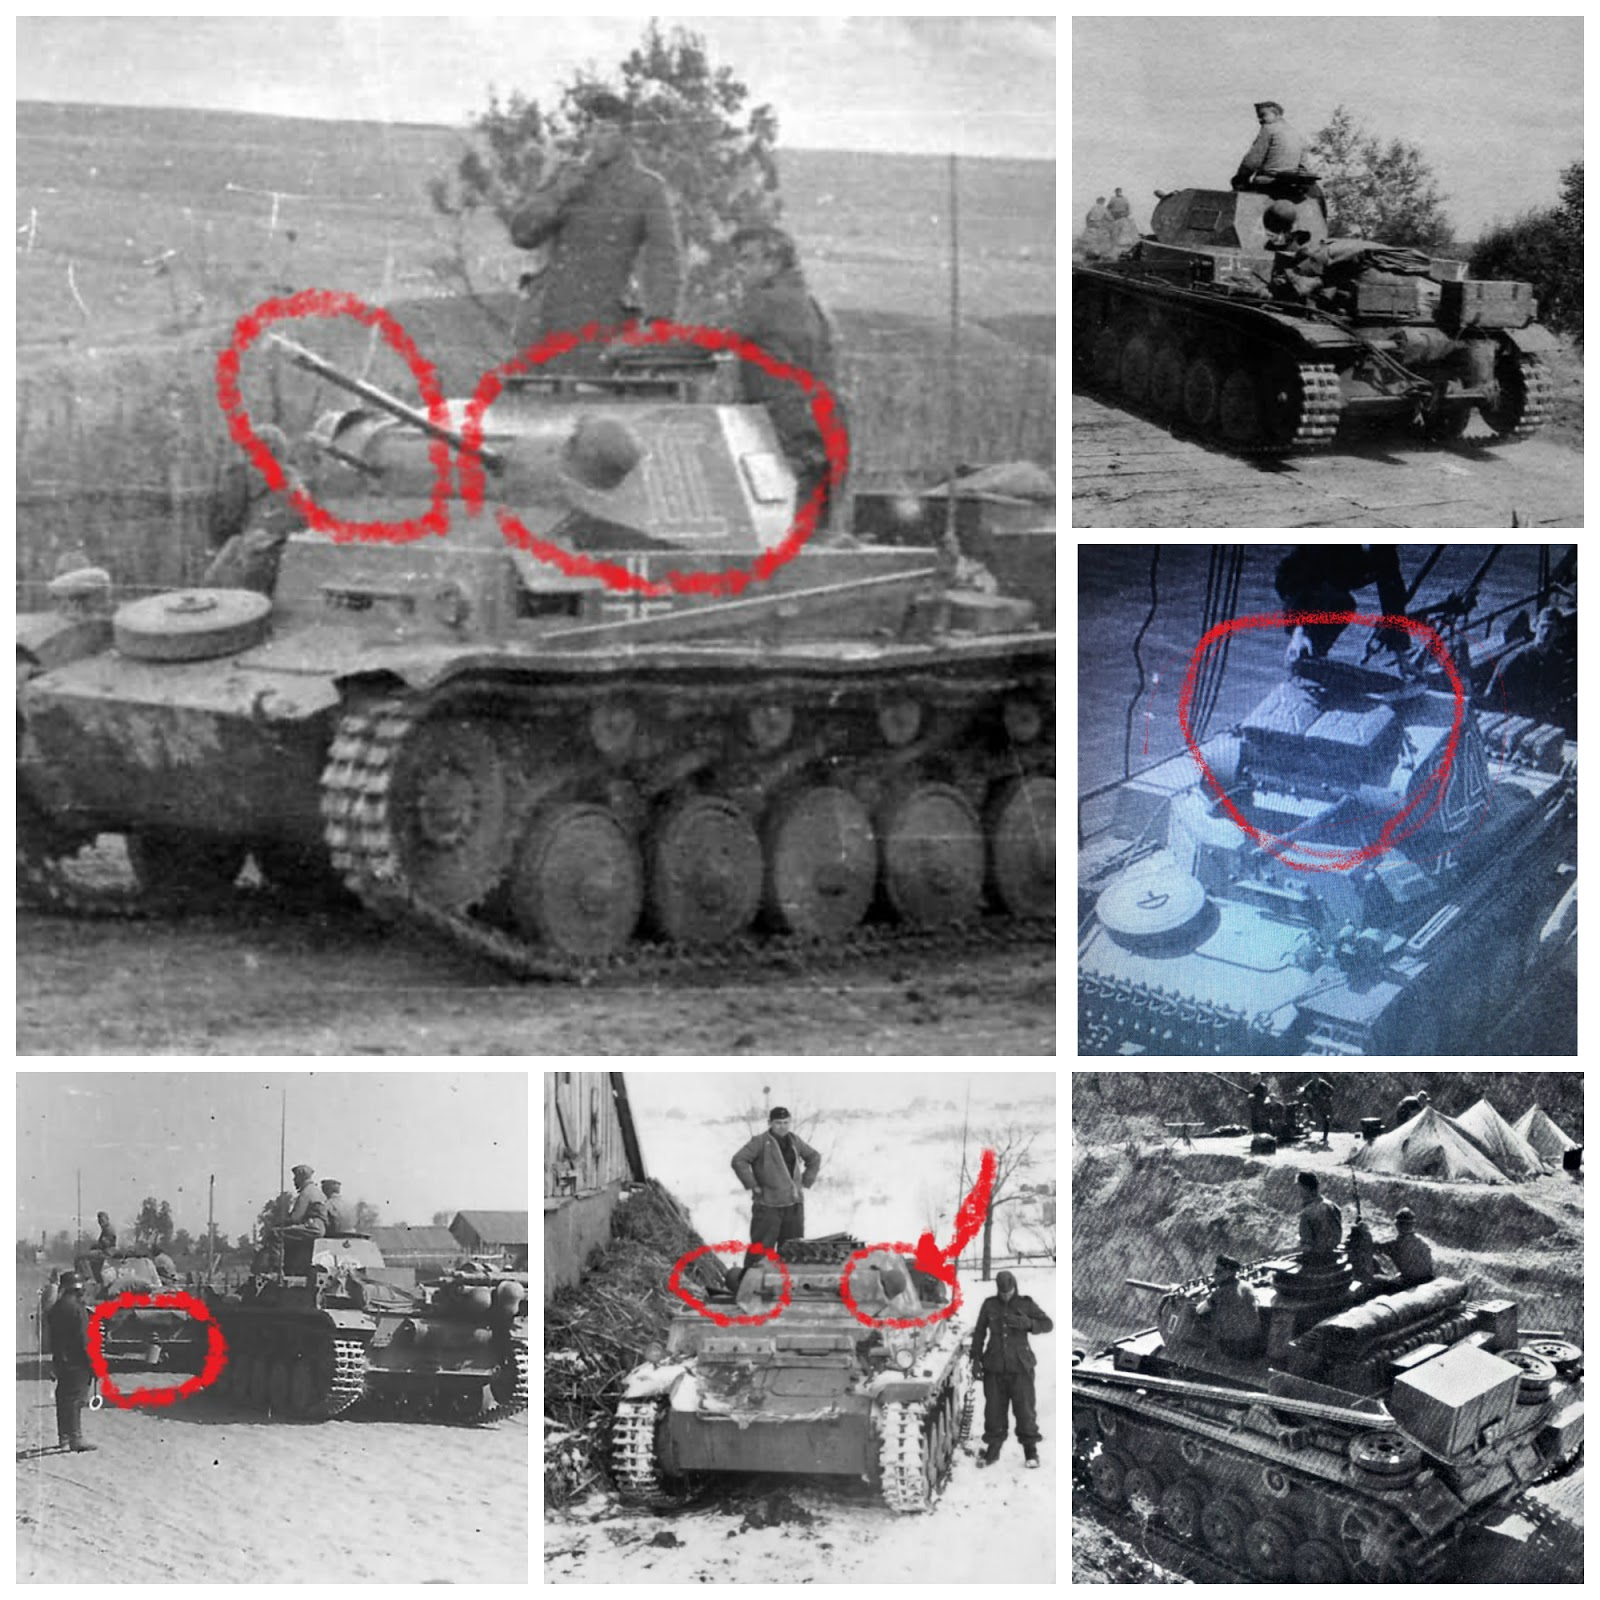
There were pictures on internet showing helmets and canisters attached to the turret of this tank. Again, I found reference pictures showing the bucket swinging in the back. Reference pictures were available with items stuffed into the rear of the tank hull. I made additions to the model accordingly.

I wanted to create contrast by painting the canisters that I mounted on the front of the turret different from the main color of the model. For this purpose, I searched for references and chose 2 colors that I liked from the pictures I found on the internet. I painted the cans in the colors I chose.

I set a lid from a metal piece on the box I opened. I cut the cover to the appropriate size and primed it. It is impossible to paint these metal sheets without a primer.
I couldn't decide how the cover should stand. There wasn't enough space to keep it completely open. I thought I'd put a stick in and keep it open. But that would not be realistic either.

I took a gun holster and made a support from it under the cover of the stowage. By the way, I completely filled this stowage box. For some reason, instead of stuffing a napkin or something like that, I actually stuffed it.

I cut hinges from transparent parts on the cover to make it look realistic. They were so tiny that I lost them many times but found them again each time. After gluing these details, I painted and weathered the cover.


When I finished everything to do on the tank, I moved on to the weathering phase. I had already placed the decals on the tank before. I started to naturalize the tank, which is also varnished, with oil paint.

This is the first time I have applied such an intense oil paint in a tank and I loved it. First of all, I filtered the entire tank with white, light blue and burnt umber. This application broke the brightness of the color unbelievably.

Then I put yellow, brown, white and blue dots on the vertical surfaces and pulled them down with white spirit. I dotted the horizontal surfaces with the same colors and spread it in circular motions by adding white spirit with a brush. I applied black oil paint to the corners and made shadows.

After the oil paint application was finished, I washed the tank with the Humbrol black washing solution that I had on hand. I didn't wash very heavily. I didn't want it to be covered with oil paint. When it dried after washing, I protected the model by applying mat varnish.

I did not want to make exaggerated weathering applications since it is a model that is already very well detailed with oil paint. First of all, I did a very light chipping with a sponge. If you exaggerate this application, it draws a lot of attention in the negative direction. So I didn't want to exaggerate.

Making rust and dust streaks on the tank provides very realistic aging. I made traces of flow with rust and streaking grime on the vertical surfaces of the tank. I made thick streaks to make it a little more obvious on the front.

After I finished the streaks, I moved on to the wheels. I did not wear this model with a brush. I used the mud and dust solutions I had on hand and blasted the wheels and side surfaces by blowing air from the airbrush. In this way, mud contamination looks more natural.

Before I finished the tank, the items on it were scarce and I added a few more green blankets. This made the rear part of the hull look a little fuller.
Finally, it's time to wear the tracks. I painted the tracks in rust color first and then washed them. I applied pigment fixer on it and applied many different pigments. Finally, I painted the places that touched the ground in bright color and completely finished the tank.

This old kit was going to be just a trial and learning model for me. But this model was almost the most beautiful tank I've ever made. From now on, I plan to try to improve the methods I learned while making this tank.

No comments:
Post a Comment