Sunday, November 27, 2022

Panzer Kampfwagen I Ausf. A I S-Model I 1/72

 When a box full of kits came from Erhan Atalay, I opened it with excitement and saw 2 tiny Panzers. One of them was this tiny Panzer 1 and the other was a Panzer 2. Since I've never made an S-Model kit before, I excitedly took the two together on the bench and started to assembly them.


The kit is very tiny, but they put etched pieces inside. When these parts are added, the model looks really nice. Would I be exaggerating if I said that the barrels were also metal?


The tracks of the kit are given as one piece. These kind of tracks are my favorite kind. But there were mold marks on the tracks that were very hard to reach. No matter how hard I tried, I couldn't completely scrape it off.


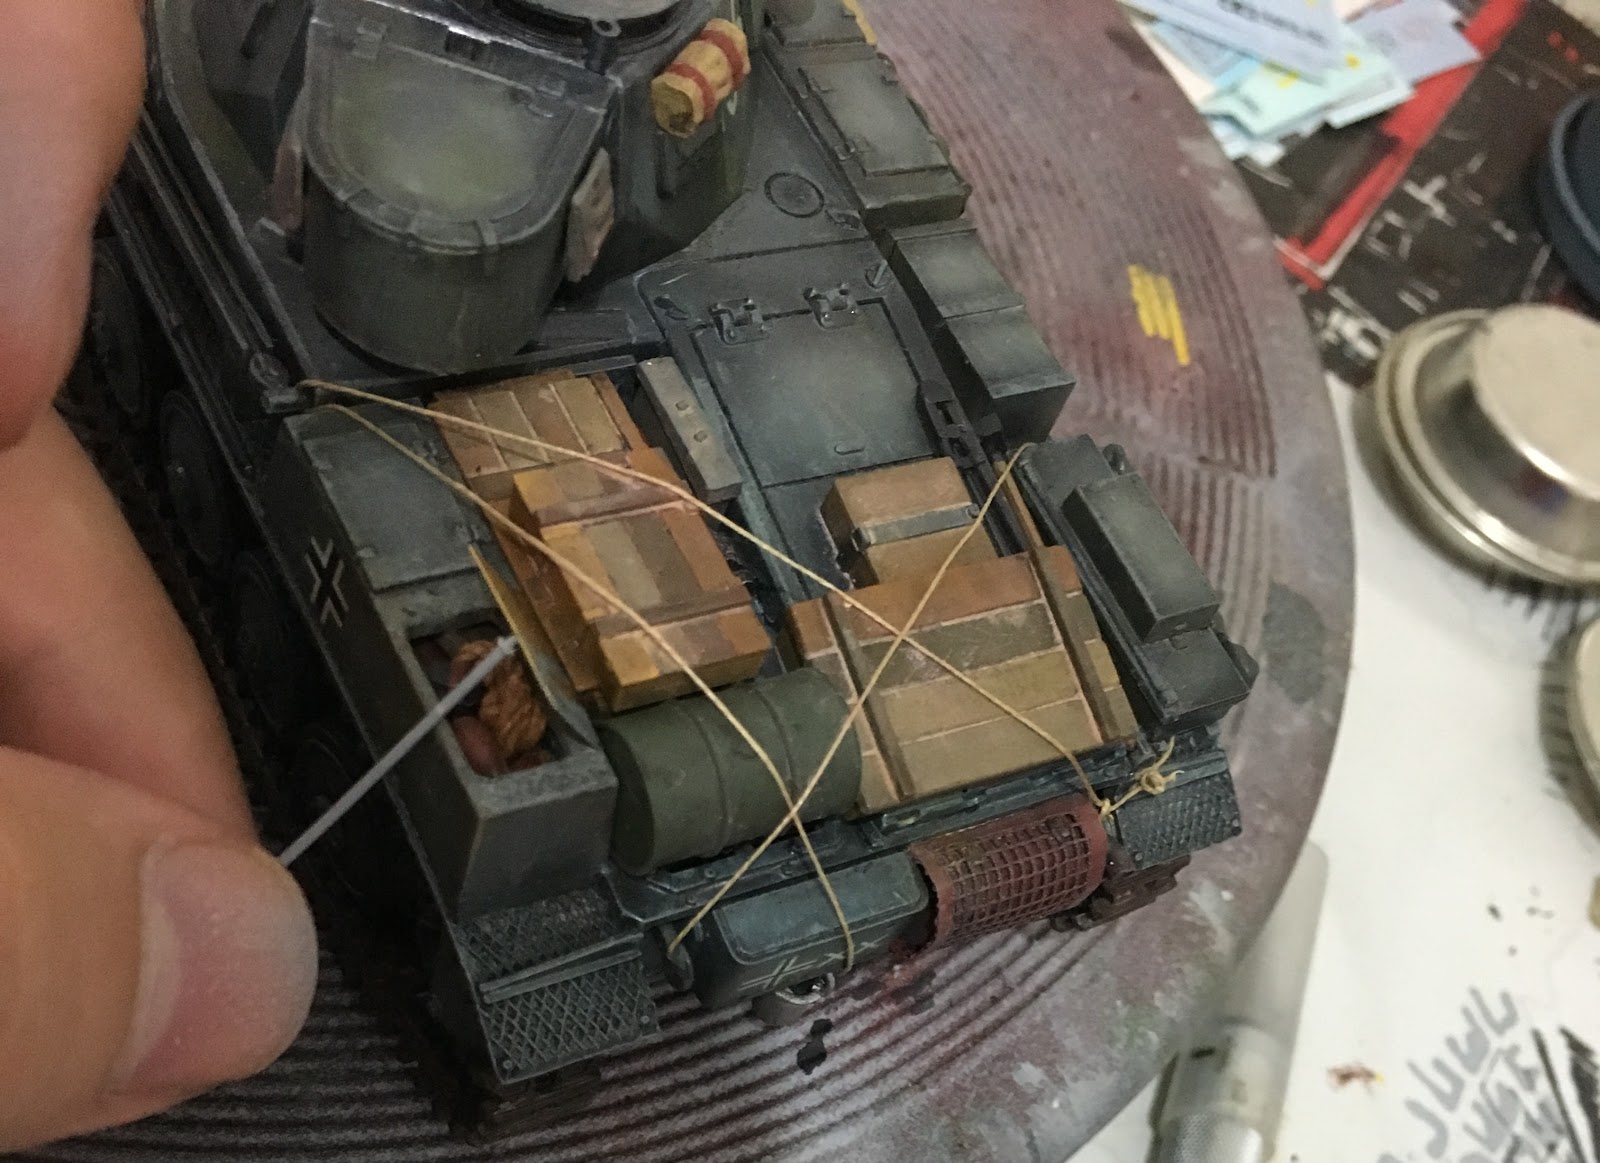
I wanted to find and add a bucket to the etched part on the back of the tank, but unfortunately, such parts are impossible to find at this scale. I didn't make a bucket at this scale since it's too small and left the piece as it is.


It was a very easy kit to assemble and I completed it quickly. I also assembled and primed the Panzer 2 at the same time. The primer actually slightly overshadowed the beauty on the etched pieces. But these parts do not hold paint without primer. That's why I had to prime.


The primer immediately reveals the mistakes you made on the model. Especially the gray primer is very good in this regard. I fixed the faulty parts that appeared after the primer. In general, I did not see any assembly errors on the kit. I really liked the S-Model in this regard.


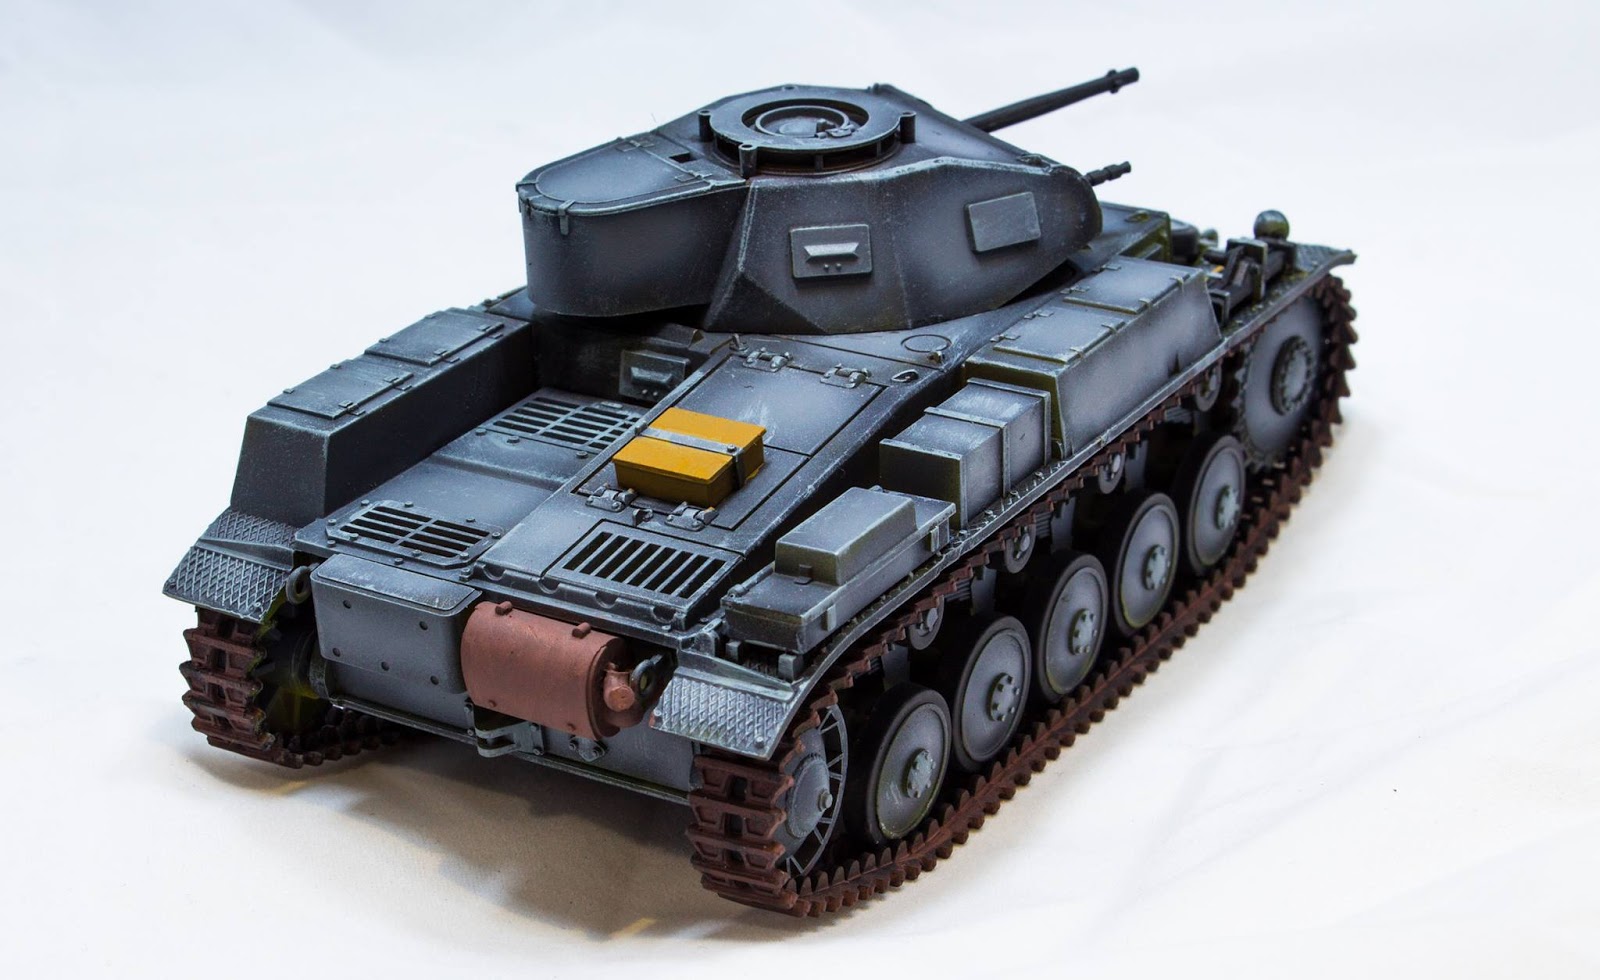
Since these tanks were used in the early stages of the Second World War, it is necessary to paint them with either African camouflage or panzer gray. I preferred panzer gray, as I often do lately.


First, I painted the entire model with panzer gray. Since this color seems too dark to me, I applied blue gray paint with a sponge. Then I dry brushed the protruding parts by lightening the gray with white.


I wonder how I used to make models without dry brushing. It is a good feeling to improve one's self by making models. After the dry brushing was finished, I painted the items on the tank.


There was not much detail on the tank that needed extra paint. I painted the tracks and the exhaust in rust color and the tools on the tank in anthracite. I also painted the barrels in anthracite color. The  painting of the tank is finished as it is.


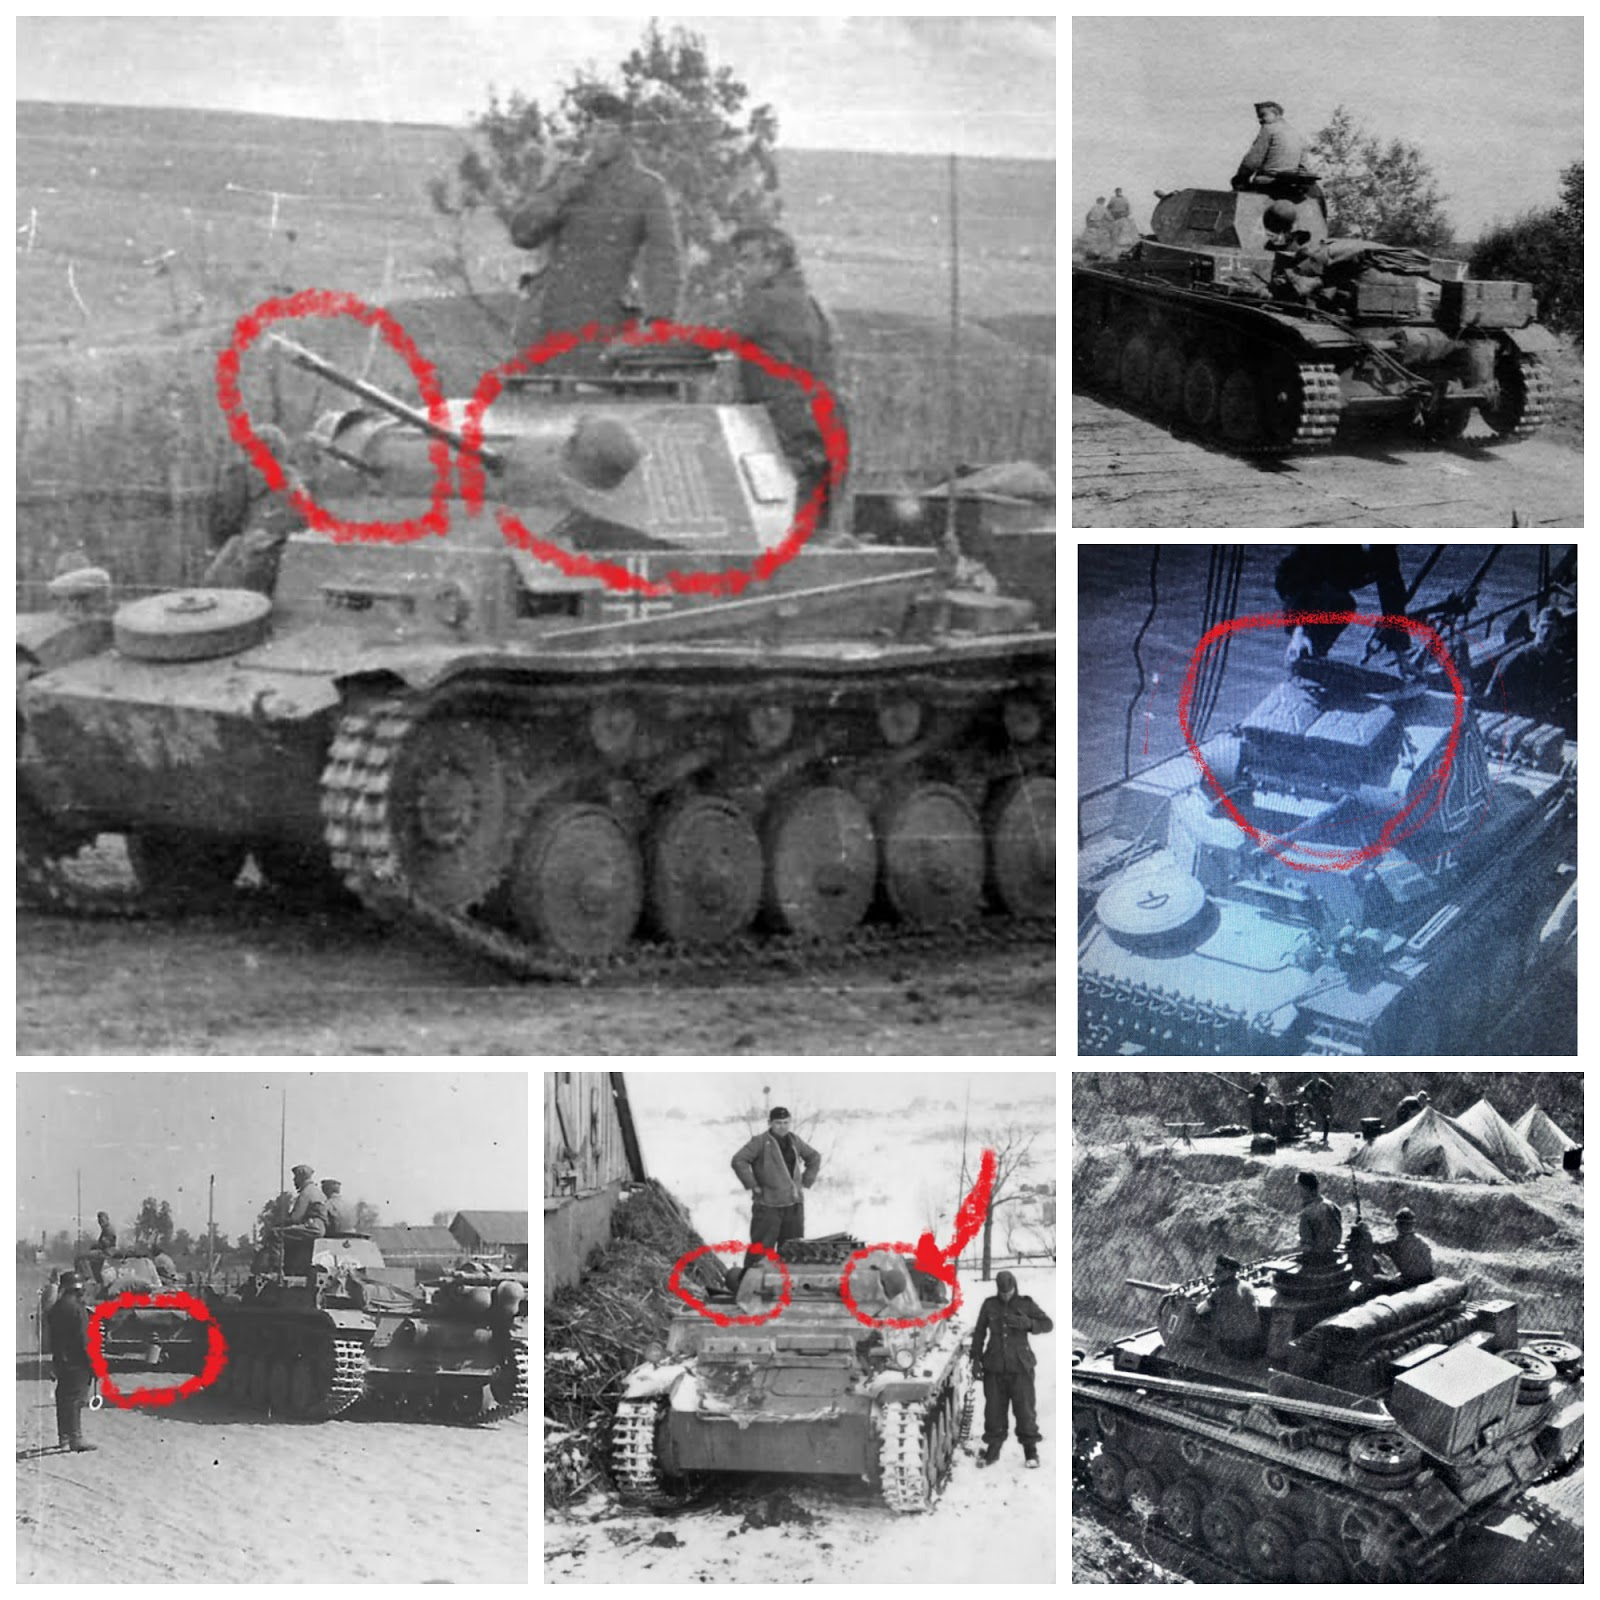
For this model, I used decals from other kits since I did not have decals at hand. In fact, I wish I had the signs on which panzer division this tank belongs to. But this time, unfortunately, I didn't have any decals for it.


I fixed the decals between 2 coats of glossy varnish. If we do not want the decals to shine, we need to do this application. Otherwise, the decals look like they are glued onto the tank rather than painted.


Recently, I have been applying oil paint on models. Oil paint application beautifies and naturalizes the appearance of tanks. I am very happy to learn these methods. This is the part that I have enjoyed the most while modeling lately.


First, I applied a filter on the tank using 3 different colors. This application takes the shine of the paint and fades the color. It mattifies the tank but does not darken the color if you use the right colors. That's why the filter is so important. The only thing to be careful about is not to fill the hollow parts completely. Otherwise, our dye cannot enter these areas while washing.


After the filter, I put dots in green, yellow and brown colors, with white being dominant on the tank. Then I spread these paints over the entire surface of the tank using white spirit. With this application, different colors appear at different points and the model comes out of monotony. It is very important to break the monotony in monochrome tanks.


It is very important to dry the tank after oil paint application. Otherwise, at each stage, you will delete what you did in the previous stage. After the entire application was finished, I once again covered the tank with gloss varnish.


After applying glossy varnish, I washed the tank with black oil paint. Washing is an application that adds volume to the tank, but you need to be careful while doing it. Otherwise you will paint the whole tank black. I love the washing application part.


After the washing was finished and the tank was dry, I applied a matte varnish on it. Since the matte varnish is grainy, it facilitates the aging process. It also prevents the underlying paint from being damaged. But if you apply too much, the tank can look like a toy.


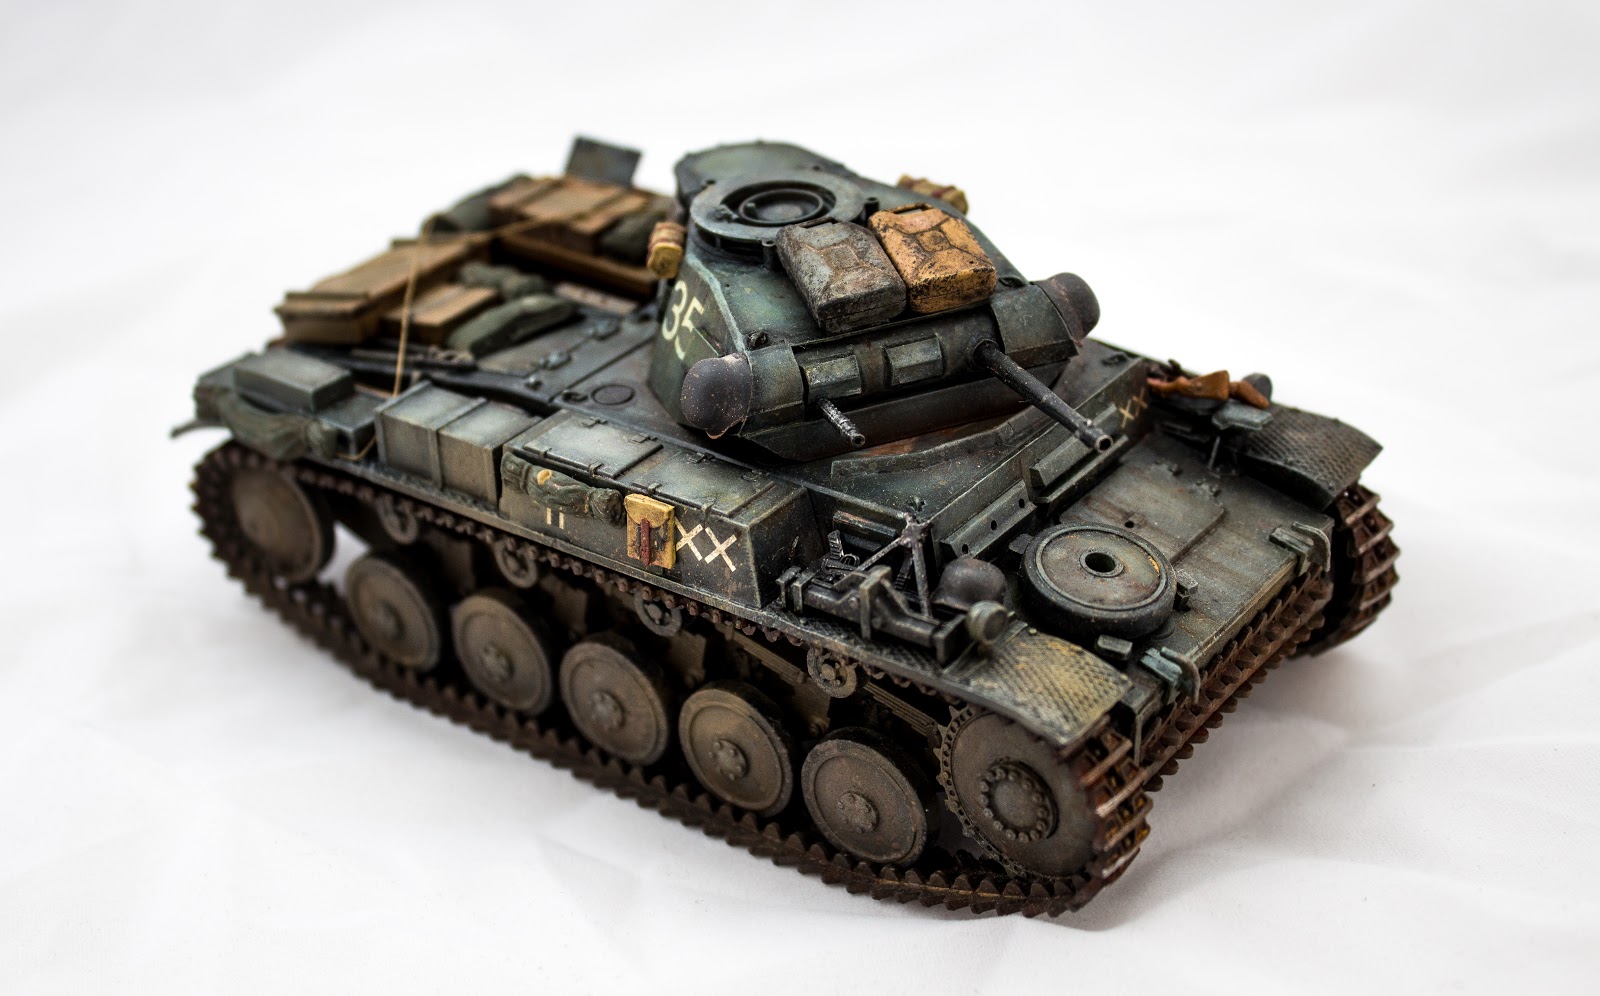
I first applied mud and dust to the tracks, front and rear surfaces of the tank. I painted the parts of the tracks that touched the ground with a metallic color. Finally, I applied pigments and finished with the tracks.


I made streaks to the top of the tank first. I made the streaks with rust color and streaking grime. At this scale, one has to be very careful. Because if you don't thin them well, they can be very thick according to the scale.


I made a rust effect on the handles on the tank. I also aged a few corners with a sponge. This application provides a natural look on the tank. I made a metallic wear effect by rubbing a pencil on the sides of the tank.


I weathered the vehicle's exhausts with rust pigments. This rust application completely breaks the monotonous appearance on the tank. But since the sizes are small, the pigments smudged a little.


I had my brother take pictures of the tank and then put the model on display. It was a model that I had a lot of fun making. If you have it in mind, I recommend getting it.

Sunday, October 2, 2022

Panzer Kampfwagen II Ausf. F/G I Tamiya I 1/35


The cheap and old mold Panzer 2 kit made by Tamiya has been waiting for me for a long time. So I started to assemble this kit to try out different techniques. The result went to a place I never expected. The kit is 1/35 scale but about the size of a 1/48 scale tank. There are 5 figures in the kit, but I set the figures aside because I don't like to build them.


First, I started by assembling the model. Since it is an old mold and a less detailed kit, I did not have any problems while assembling. I did not need to use putty when assembling the kit. This phase is over very quickly.


I've been priming the tanks with a light color lately. I used gray primer in this tank as well. Actually, my first goal was to make a classic three-color German camouflage. But since I couldn't find a picture of these tanks being painted in that camouflage, I switched to panzer gray.


First of all, I painted the parts of the tank that were not exposed in black. Then I painted the superficial parts with panzer gray. It is necessary to use such techniques in order to break the monotony in single color models.


After this stage, I dry brushed the protruding parts of the tank with a gray color that I lightened a lot. I'm used to using this technique now. While it was very obvious in the models I made before, a natural look emerged in this model.


After the main painting of the model was finished, I started to paint the details. First of all, I painted the exhaust of the tank and the tracks in rust color.


I painted the box on the tank in wood color to create contrast. I actually painted the box in two different shades of brown. But because one of the dyes was dominant, it looked like a single color.


I painted the gun barrels on the front of the tank in anthracite. I dry brushed in metallic color over anthracite. After dry brushing, a very realistic appearance occurred.


I painted the jack on the body of the tank in anthracite color and dry brushed it in metallic color. I painted the metal parts of the tools on the body in anthracite and the wooden parts in brown. I also painted the rubber parts of the wheels in tar black and finished the painting phase completely.


As in the previous tank I made, I decided to add a lot of items to the Panzer 2 model. I collected the materials that need to be assembled on the figures that came out of the kit. I also made additions to these tools from the materials I had at my disposal.


I wanted to open the lid of the tool box in the back left. Thus, I would have a chance to place materials in it. I thought it would be a thin plastic in that part. But as I started to dig holes, I realized that I was wrong.


After pretty hard effort, I opened the hole completely. I cut a plastic sheet inside and glued it right over the pallets to make the base.


I added wooden boxes, fuel cans and blankets on the body of the tank. There is a protection plate around the exhaust of these tanks. I created it by cutting the nets I have. I added a bucket to the back.


I added 2 helmets to the front of the turret. In addition, I added 2 canisters on the turret. I tried to make these additions in accordance with the reference pictures I have.


I glued a few blankets to the right side of the tank. I also added backpacks to this area. Again, I added blankets to the turret sides. I painted some of these items in desert camo for contrast.


There were pictures on internet showing helmets and canisters attached to the turret of this tank. Again, I found reference pictures showing the bucket swinging in the back. Reference pictures were available with items stuffed into the rear of the tank hull. I made additions to the model accordingly.


I wanted to create contrast by painting the canisters that I mounted on the front of the turret different from the main color of the model. For this purpose, I searched for references and chose 2 colors that I liked from the pictures I found on the internet. I painted the cans in the colors I chose.


I set a lid from a metal piece on the box I opened. I cut the cover to the appropriate size and primed it. It is impossible to paint these metal sheets without a primer.


I couldn't decide how the cover should stand. There wasn't enough space to keep it completely open. I thought I'd put a stick in and keep it open. But that would not be realistic either.


I took a gun holster and made a support from it under the cover of the stowage. By the way, I completely filled this stowage box. For some reason, instead of stuffing a napkin or something like that, I actually stuffed it.


I cut hinges from transparent parts on the cover to make it look realistic. They were so tiny that I lost them many times but found them again each time. After gluing these details, I painted and weathered the cover.


When the weathering process of the cover was finished, I replaced the cover. In fact, it is not very realistic for the lid to remain open like this. But otherwise, it was not possible for me to show the inside of the box.


When I finished everything to do on the tank, I moved on to the weathering phase. I had already placed the decals on the tank before. I started to naturalize the tank, which is also varnished, with oil paint.


This is the first time I have applied such an intense oil paint in a tank and I loved it. First of all, I filtered the entire tank with white, light blue and burnt umber. This application broke the brightness of the color unbelievably.


Then I put yellow, brown, white and blue dots on the vertical surfaces and pulled them down with white spirit. I dotted the horizontal surfaces with the same colors and spread it in circular motions by adding white spirit with a brush. I applied black oil paint to the corners and made shadows.


After the oil paint application was finished, I washed the tank with the Humbrol black washing solution that I had on hand. I didn't wash very heavily. I didn't want it to be covered with oil paint. When it dried after washing, I protected the model by applying mat varnish.


I did not want to make exaggerated weathering applications since it is a model that is already very well detailed with oil paint. First of all, I did a very light chipping with a sponge. If you exaggerate this application, it draws a lot of attention in the negative direction. So I didn't want to exaggerate.


Making rust and dust streaks on the tank provides very realistic aging. I made traces of flow with rust and streaking grime on the vertical surfaces of the tank. I made thick streaks to make it a little more obvious on the front.


After I finished the streaks, I moved on to the wheels. I did not wear this model with a brush. I used the mud and dust solutions I had on hand and blasted the wheels and side surfaces by blowing air from the airbrush. In this way, mud contamination looks more natural.


Before I finished the tank, the items on it were scarce and I added a few more green blankets. This made the rear part of the hull look a little fuller.


Finally, it's time to wear the tracks. I painted the tracks in rust color first and then washed them. I applied pigment fixer on it and applied many different pigments. Finally, I painted the places that touched the ground in bright color and completely finished the tank.


This old kit was going to be just a trial and learning model for me. But this model was almost the most beautiful tank I've ever made. From now on, I plan to try to improve the methods I learned while making this tank.