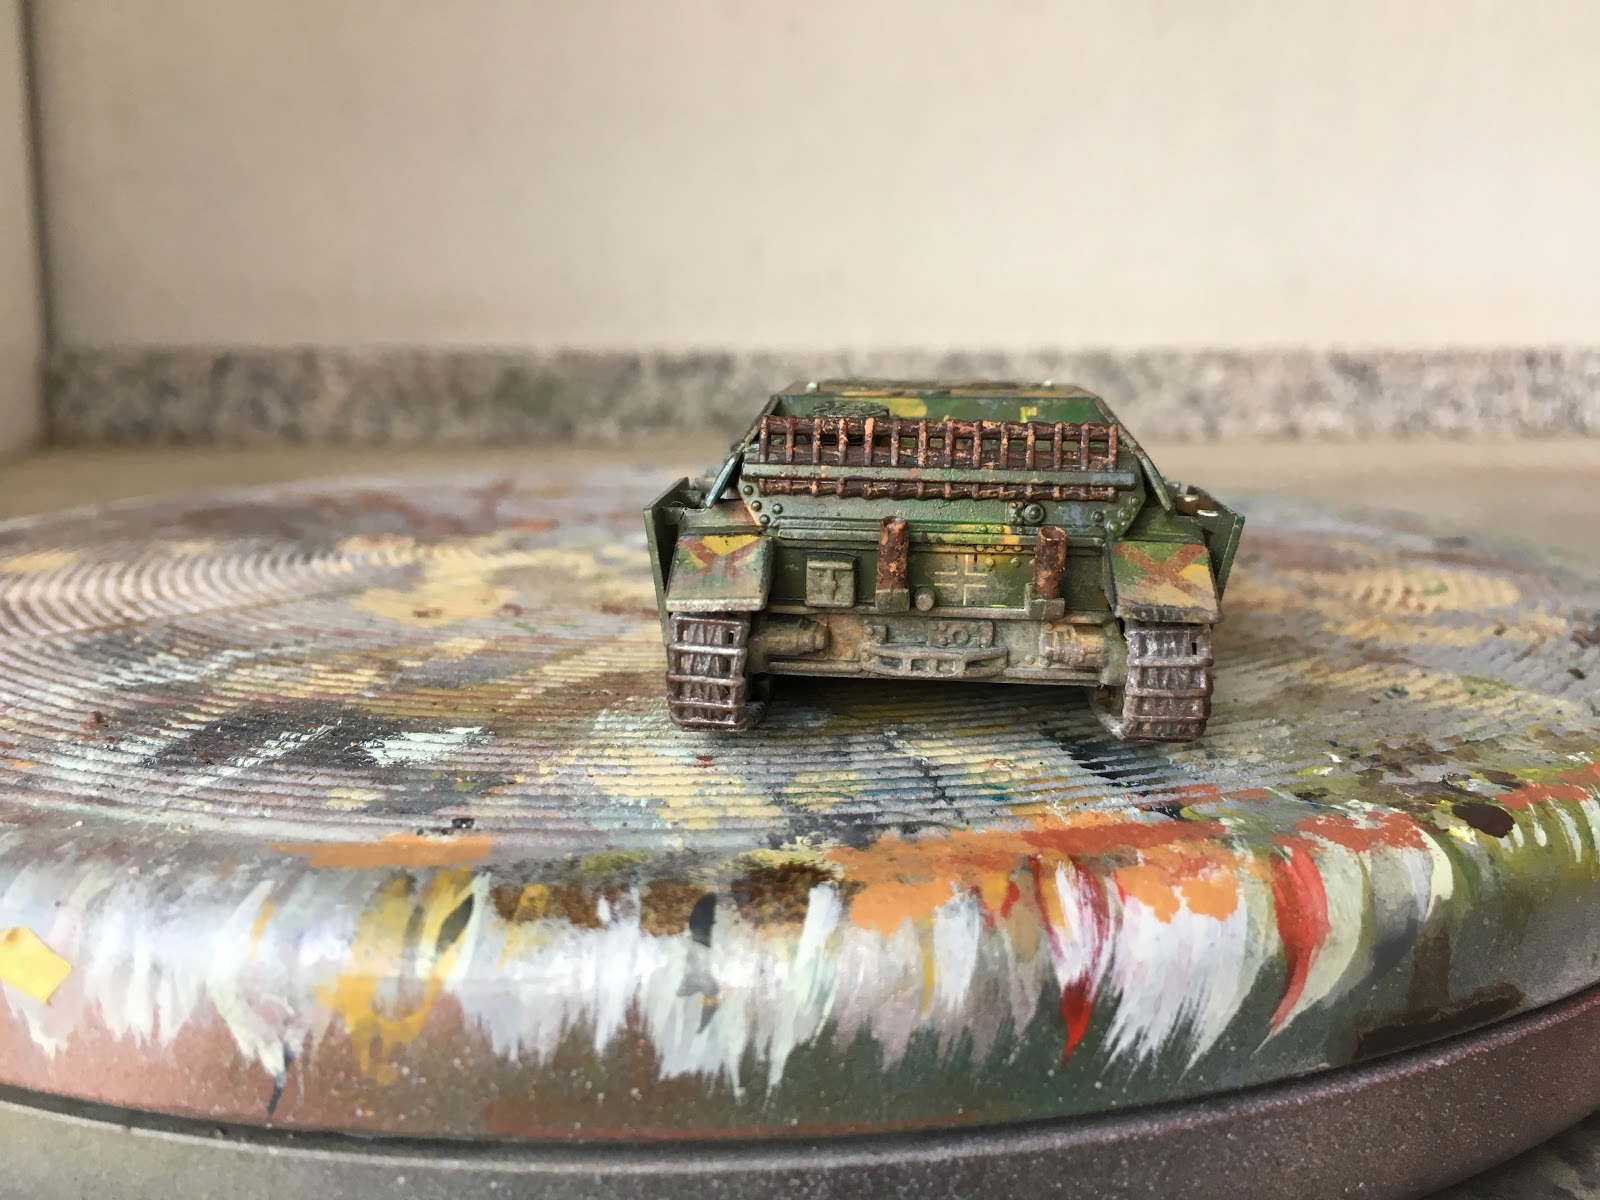
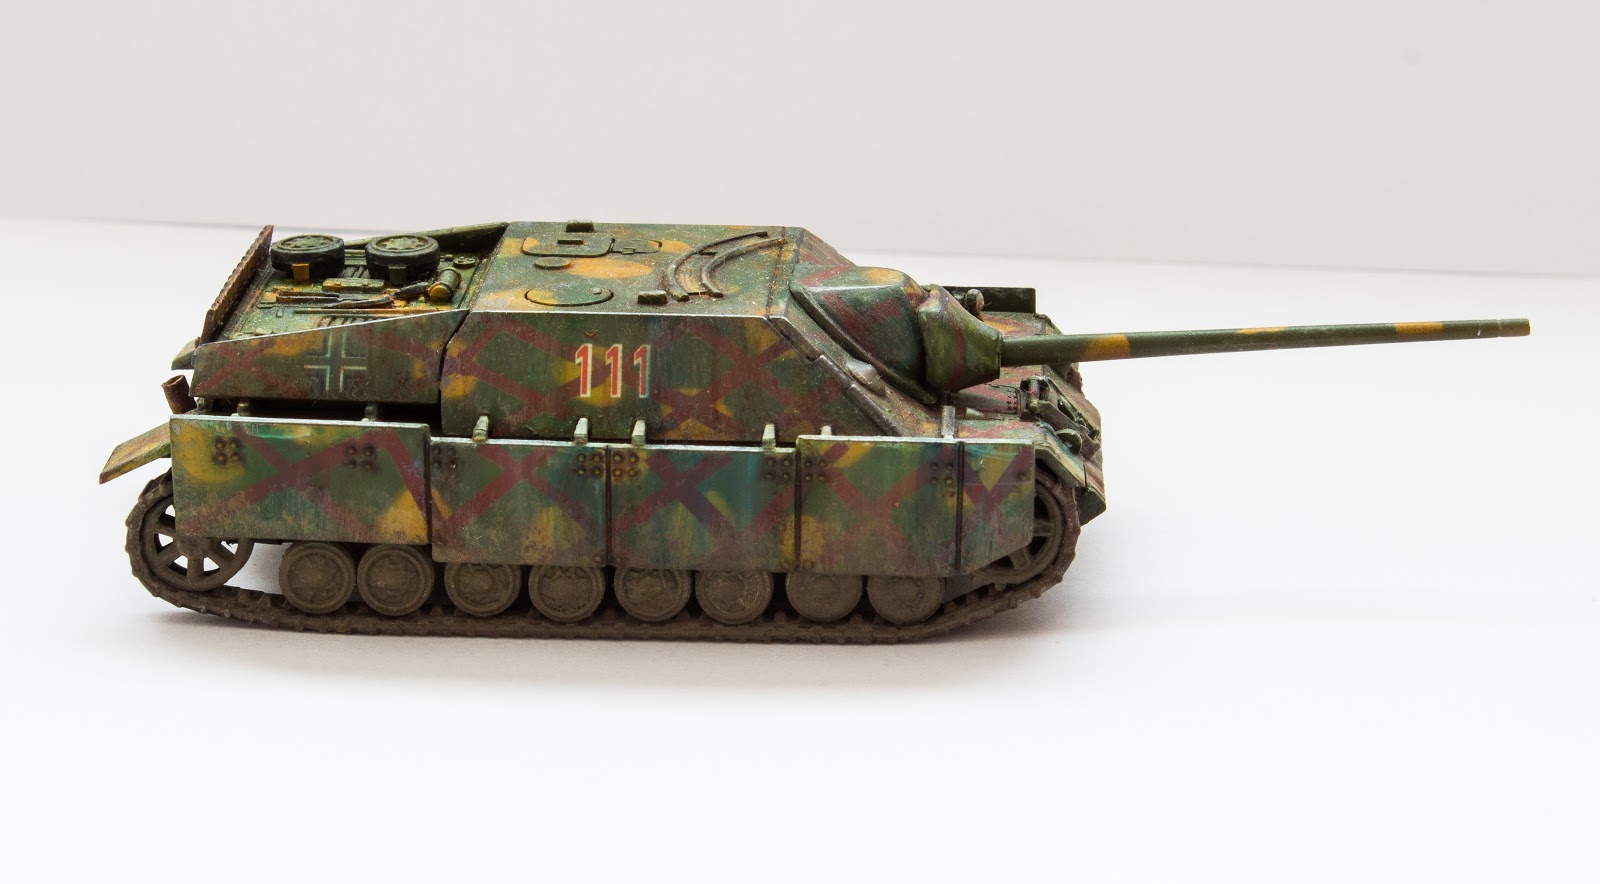
While browsing the internet, I came across a very old Matchbox kit. Succumbing to my curiosity, I bought the kit. I had previously made another Jagdpanzer IV kit, but it turned out poorly. So, I decided to make another one and placed the kit on the workbench. This time, the kit we made is a Panzer Jaeger IV L/70 tank in 1/76 scale.
Firstly, during the assembly of the tank, the thickness of the plastic caught my attention. The model industry has advanced significantly over time. Models are now made from much thinner plastic, making the construction more enjoyable.
The tank's tracks were quite thick and did not look realistic. Since I didn't have alternative tracks, I had to use the original ones. There were also fitting issues with many parts, especially the side guards, which caused some difficulties. I was relieved when the assembly was finally completed.
With a three-color camouflage in mind, I started painting the colors one by one. I first applied the red oxide color and, after it dried, masked it for the next layer.
After masking, I applied the dunkelgelb, a yellow color, and waited for it to dry. With this color, I created the spots on the tank. In retrospect, I should have used a thinner and lighter color, as there was a noticeable difference in layers. Applying the paint thinly creates subtle boundaries, resulting in a more pleasing appearance.
Finally, I applied the green color, and the painting stage was completed. The green color, however, made the tank look very dark. I didn't expect it to be so dark, and I should have lightened the color.
When the painting phase was completely finished, I removed the tapes on the tank one by one. The resulting image was exactly what I wanted. The only thing that bothered me was the differences in paint layers.
Once the camouflage painting was done, I moved on to painting the details, such as the tracks and rear wheel parts. I painted the spare wheels in a suitable color. Painting small parts like shovels and picks, which are almost embedded in the base, was challenging.
After finishing all painting processes, I applied a glossy varnish. I don't want to use too much gloss varnish anymore, but it makes the weathering process much easier.
Once the gloss varnish completely dried, I applied the decals to the tank. Since the decals included in the kit were damaged, I used miscellaneous decals from my collection. I had plenty of German decals, so I didn't encounter any issues.
After the decals were in place, I applied another layer of glossy varnish. Applying varnish in layers helps protect the decals between two varnish layers and prevents them from shining too much. Preventing the decals from shining is crucial, as fixing this mistake later is challenging.
Once the glossy varnish was completely dry, I moved on to my favorite stage. For some reason, weathering with oil paints has become my favorite. Oil paint removes the glossiness of the tank and beautifully blends the colors.
Using burnt sienna oil paint, I started with a filter on the entire surface of the tank. The filter helps blend the tones of different colors and textures of our paints. This stage is crucial.
Next, I applied a filter with a yellow color. I chose light tones for this stage because I needed to lighten the color a bit. Finally, I used white paint to create filters. I let the tank dry. Oil paint takes a very long time to dry.
Once the filter was completely dry, I touched different colors of oil paints with a toothpick on the side surfaces of the tank. Then, using a brush dipped in white spirit, I pulled down, allowing the paint to spread. This way, I achieved contrasting tones and broke the monotony.
After finishing with the side surfaces, I moved on to the flat parts of the tank. Here, I used a toothpick to touch different colors of paints. Unlike previous processes on flat surfaces, I spread the paint by drawing circles with a brush. This way, I created contrast again.
After completing the oil paint processes and letting the paint dry, it was time for washing. I could have applied varnish again before washing, but I chose not to. I washed the tank very lightly and only in areas where dirt would accumulate.
Honestly, the washing part pleased me a lot. The tank didn't get too dark, and the corners and edges of the tank became nicely pronounced. I used panel liner in some places because it flows well and looks good on the model.
After the wash, once the tank was completely dry, I began my next step: applying a matte varnish to the tank. Applying matte varnish before weathering creates a rough surface, making it easier for particles to adhere. Therefore, applying matte varnish is essential.
After the matte varnish completely dried, I first applied Vallejo Rainmarks to the tank. However, no matter what I did, I couldn't dilute this solution on the tank. Almost all the applications I made on the tank were erased at once. I wish I had tried it somewhere else first. This was a lesson for me.
After recovering from the disaster, I returned to the model. First, I applied various dust solutions to the wheels. Actually, if I had done some pinwash, the wheels might have looked better, but I didn't anticipate that at the time.
I also applied dust to the front and back of the tank, touching the brush wherever dust could stick. I added some dust to the lower parts of the side guards as well.
After the dusting stage, I created downward streaks on the vertical surfaces of the tank. The thickness of such streaks is crucial, and they shouldn't be too prominent; otherwise, a non-realistic appearance is created.
I tried to give a rust effect to the spare tracks and exhaust outlets at the back. Lately, I've been trying a lot of these rust effects, but I still haven't achieved the desired look. I need to work more on this aspect.
To give a metallic effect to the parts of the tracks that touch the ground, I dry-brushed them with suitable paints. I added both rust and dust to the spaces in between. In the final step, I applied pigments to finish the tracks.
I tried to depict the residue of the post-firing on the tip of the tank barrel and the exhaust outlets at the back using the soot pigment I had. But, I think I applied too little fixing agent, and it practically all came off the barrel tip. I filled the inside of the exhaust and barrel with the panel liner.
To make the tank corners shine and give a metallic effect, I used a lead pencil and graphite pencil to create reflections. This application is crucial. It helps move your tank away from a plastic appearance and gives it a metallic look. I try to create abrasion with two different pencils to achieve different tones. Metallic colors can also be applied if desired.
I weathered the top of the tank with sponges in rust and anthracite colors. I aimed to polish the areas where the crew would touch. I tried to be careful not to exaggerate it as it seemed a bit excessive.
Finally, I dusted the top of the tank and completed the model. Actually, it wasn't the quality I wanted, but the finished model is the best model after all.
In fact, this kit has some problems. First of all, it's an old kit, and the plastic is very thick. Therefore, you can't bend it as you wish. The side guards constantly break. In the end, I had to fix them to the wheels. Generally, building the kit was not enjoyable.
In the end, I finished another model and put it in the display case. It didn't turn out to be the quality I wanted, but I don't plan to try this camouflage motif again. I plan to continue making models with a new tank. This time, I aim to make another German tank.